
Blog
ESP32 Smart Garden: Auto-Watering System with Soil Moisture Sensor

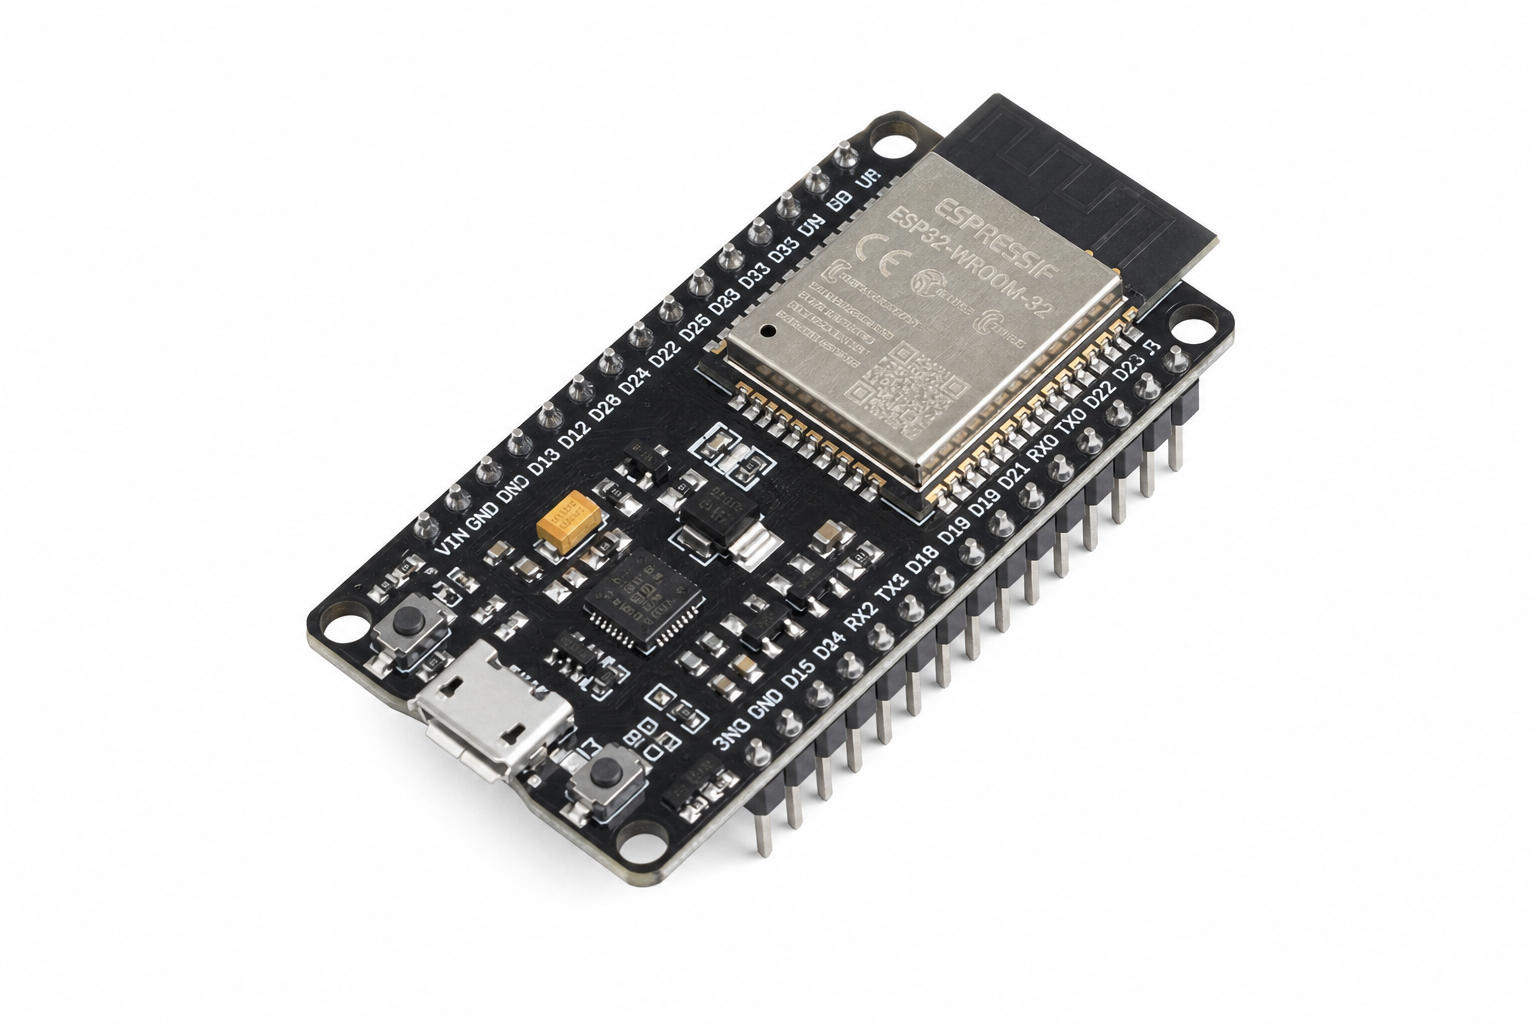
The Problem
Your plants keep dying because you forget to water them. Or you water too much and the roots rot. You need a system that knows when your plants are actually thirsty — and waters them automatically.
With an ESP32, a soil moisture sensor, and a relay, you can build a fully automatic smart garden that:
- Monitors soil moisture 24/7
- Waters your plants when they need it (not on a fixed schedule)
- Sends you alerts when the water tank is empty
What You’ll Build
An ESP32-powered auto-watering system that reads soil moisture every hour and triggers a water pump when the soil gets dry. Optional: connect to WiFi for remote monitoring via MQTT.
Difficulty: Beginner | Time: 45 minutes | Cost: ~$35 in parts
Hardware Required (Bill of Materials)
| Part | Model | Qty | Price | Buy |
|---|---|---|---|---|
| Microcontroller | ESP32 DevKitC V4 | 1 | $13.49 | View Product |
| Soil Moisture Sensor | Capacitive Soil Moisture v1.2 | 1 | $4.49 | View Product |
| Relay Module | 2-Channel 5V Relay | 1 | $5.24 | View Product |
| Display | 0.96″ OLED SSD1306 | 1 | $5.99 | View Product |
| Breadboard | 830-point | 1 | $4.49 | View Product |
| Jumper Wires | M-M 40pcs | 1 | $2.99 | View Product |
You’ll also need a mini water pump (5V, ~$3 from any hardware store) and silicone tubing. Connect the pump’s positive wire through the relay.
Step 1: Wiring
ESP32 ↔ Soil Moisture Sensor
| Sensor Pin | ESP32 Pin | Note |
|---|---|---|
| VCC | 3V3 | Power |
| GND | GND | Ground |
| AOUT | GPIO 34 | Analog output (ADC1_CH6) |
ESP32 ↔ Relay Module
| Relay Pin | ESP32 Pin | Note |
|---|---|---|
| VCC | 5V/VIN | Power |
| GND | GND | Ground |
| IN1 | GPIO 26 | Relay control signal |
ESP32 ↔ OLED Display
| OLED Pin | ESP32 Pin | Note |
|---|---|---|
| VCC | 3V3 | Power |
| GND | GND | Ground |
| SDA | GPIO 21 | I2C Data |
| SCL | GPIO 22 | I2C Clock |
Important: Connect the water pump through the relay’s NO (Normally Open) terminal and COM terminal. The relay acts as a switch — when GPIO 26 goes LOW, the pump turns ON.
Step 2: Calibration
Before automating, you need to find your soil’s “dry” and “wet” values:
- Insert the sensor into dry soil → note the analog reading (e.g., 3200)
- Insert into wet soil → note the reading (e.g., 1400)
- Calculate the threshold — below this value = wet enough, above = needs water
DRY_VALUE = 3200   (your reading in dry soil)
WET_VALUE = 1400   (your reading in wet soil)
THRESHOLD = 2500   (trigger watering above this)
Step 3: Upload the Code
#include <Wire.h>
#include <Adafruit_SSD1306.h>

#define SCREEN_WIDTH 128
#define SCREEN_HEIGHT 64
Adafruit_SSD1306 display(SCREEN_WIDTH, SCREEN_HEIGHT, &Wire, -1);

// --- Pins ---
#define SOIL_PIN 34
#define PUMP_PIN 26

// --- Calibration (change these!) ---
const int DRY_VALUE = 3200;
const int WET_VALUE = 1400;
const int THRESHOLD = 2500;

const unsigned long CHECK_INTERVAL = 3600000;
const unsigned long PUMP_DURATION = 5000;
unsigned long lastCheck = 0;

void displayReading(int raw, int percent) {
  display.clearDisplay();
  display.setTextSize(1);
  display.setTextColor(SSD1306_WHITE);
  display.setCursor(0, 0);
  display.println("Smart Garden");
  display.drawLine(0, 10, 128, 10, SSD1306_WHITE);
  display.setCursor(0, 20);
  display.printf("Moisture: %d%%", percent);
  display.setCursor(0, 35);
  if (percent < 40) {
    display.println("Status: DRY");
    display.println("Pump: ACTIVE");
  } else {
    display.println("Status: OK");
    display.println("Pump: OFF");
  }
  display.setCursor(0, 55);
  display.printf("Raw: %d", raw);
  display.display();
}

void setup() {
  Serial.begin(115200);
  pinMode(PUMP_PIN, OUTPUT);
  digitalWrite(PUMP_PIN, HIGH);
  if (!display.begin(SSD1306_SWITCHCAPVCC, 0x3C)) {
    Serial.println("OLED not found!");
  }
  display.clearDisplay();
  display.display();
}

void loop() {
  if (millis() - lastCheck >= CHECK_INTERVAL || lastCheck == 0) {
    lastCheck = millis();
    int raw = analogRead(SOIL_PIN);
    int percent = map(raw, DRY_VALUE, WET_VALUE, 0, 100);
    percent = constrain(percent, 0, 100);
    Serial.printf("Soil: %d%% (raw: %d)n", percent, raw);
    displayReading(raw, percent);
    if (percent < 40) {
      Serial.println("Soil is dry! Watering...");
      digitalWrite(PUMP_PIN, LOW);
      delay(PUMP_DURATION);
      digitalWrite(PUMP_PIN, HIGH);
      Serial.println("Watering complete.");
    }
  }
}
Step 4: Deploy
- Insert the capacitive soil moisture sensor into your plant pot
- Connect the water pump to a water container with tubing leading to the plant
- Power the ESP32 via USB or 18650 battery shield
- The OLED display shows live moisture percentage and pump status
- Every hour, the system checks soil moisture and waters automatically
Why Capacitive Sensors Are Better
This system uses a capacitive soil moisture sensor (not a resistive one). Resistive sensors have exposed metal probes that corrode in wet soil within weeks. Capacitive sensors seal the electronics behind a protective layer — they last for years without degradation.
Going Further
- Add WiFi + MQTT — Forward moisture data to your phone (combine with the MQTT tutorial)
- Add multiple sensors — Use a multiplexer (CD4051BE) to monitor multiple plants with one ESP32
- Add a water level sensor — Alert when your water tank is running low
- Home Assistant integration — Control the pump from your smart home dashboard
- Solar power — Add a 5V solar panel + 18650 battery shield for permanent outdoor deployment