
Blog
ESP32 MQTT Smart Home: Send Sensor Data to the Cloud in 30 Minutes

The Problem
You’ve built an ESP32 weather station. Temperature and humidity display perfectly on your serial monitor. But here’s the problem — that data is trapped on your laptop. You can’t check it from your phone. You can’t log it. You can’t trigger automations.
MQTT solves this. It’s the communication protocol that powers most IoT systems worldwide — from smart factories to Home Assistant installations.
What You’ll Build
An ESP32 sensor node that:
- Reads temperature and humidity every 30 seconds
- Publishes data to a free cloud MQTT broker
- Lets you monitor everything from any web browser, anywhere
Difficulty: Beginner | Time: 30 minutes | Cost: ~$23 in parts
Hardware Required (Bill of Materials)
| Part | Model | Qty | Price | Buy |
|---|---|---|---|---|
| Microcontroller | ESP32 DevKitC V4 | 1 | $13.49 | View Product |
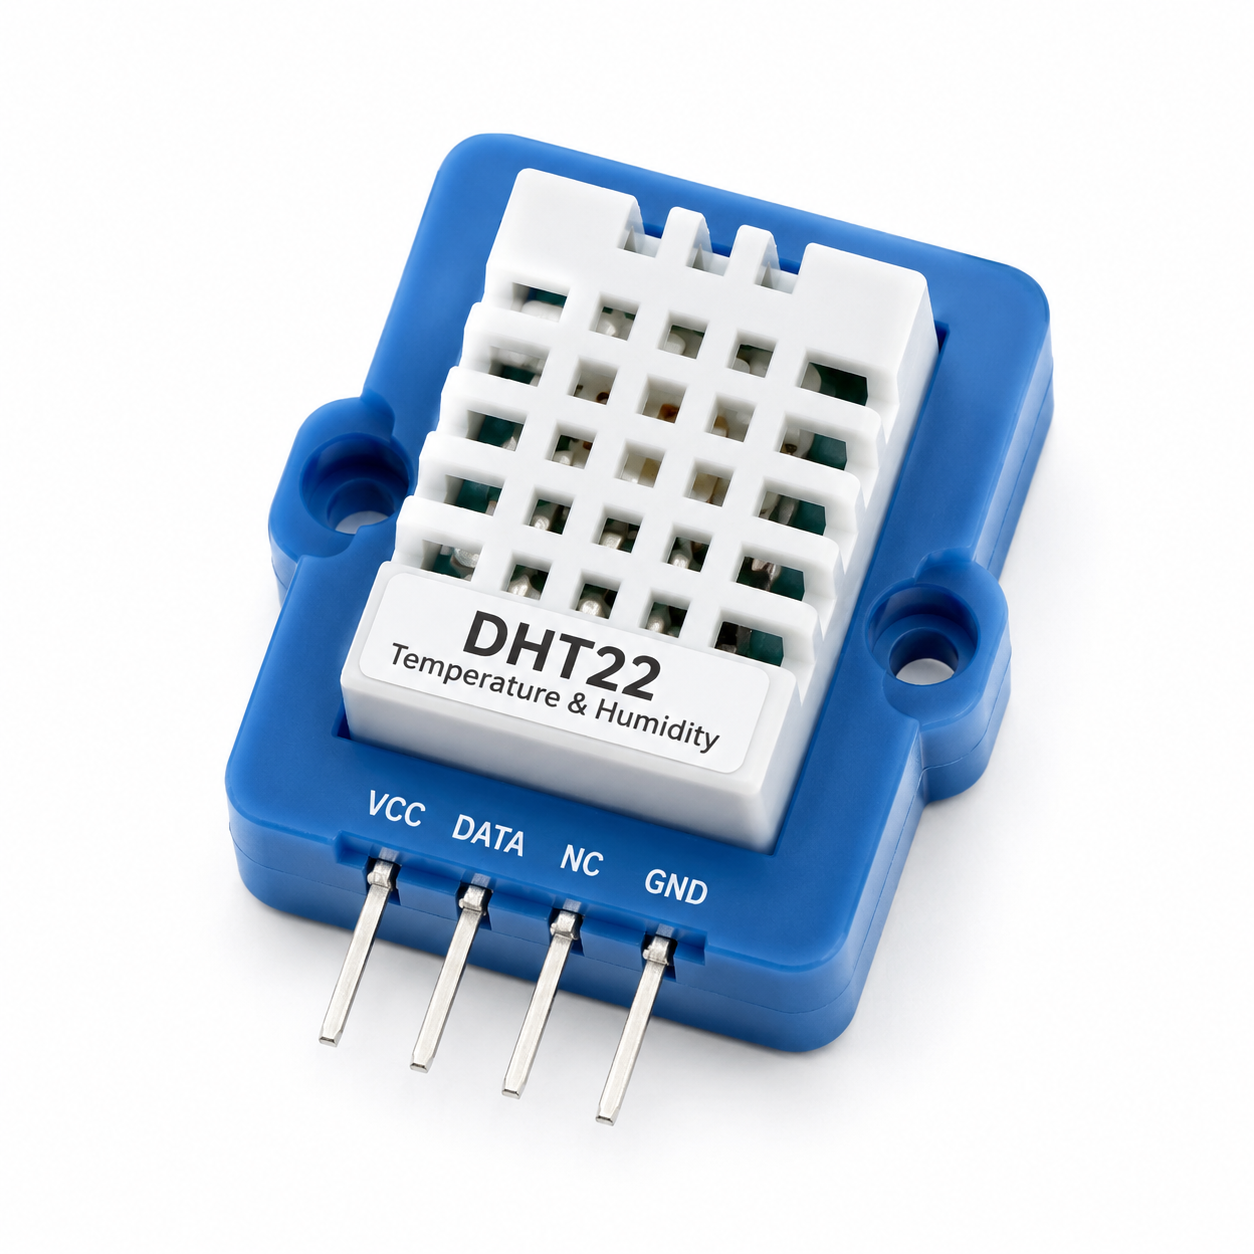
| Temp/Humidity Sensor | DHT22 | 1 | $5.24 | View Product |
| Display (optional) | 0.96″ OLED SSD1306 | 1 | $5.99 | View Product |
| Breadboard | 830-point | 1 | $4.49 | View Product |
| Jumper Wires | M-M 40pcs | 1 | $2.99 | View Product |
Step 1: Wiring
ESP32 ↔ DHT22
| DHT22 Pin | ESP32 Pin | Note |
|---|---|---|
| VCC | 3V3 | Power |
| GND | GND | Ground |
| DATA | GPIO 13 | Data line |
ESP32 ↔ OLED (optional)
| OLED Pin | ESP32 Pin | Note |
|---|---|---|
| VCC | 3V3 | Power |
| GND | GND | Ground |
| SDA | GPIO 21 | I2C Data |
| SCL | GPIO 22 | I2C Clock |
Step 2: Install Libraries
Open Arduino IDE → Sketch → Include Library → Manage Libraries and install:
- PubSubClient by Nick O’Leary (MQTT communication)
- DHT sensor library by Adafruit (DHT22 driver)
- Adafruit SSD1306 (OLED display, if using)
Step 3: Upload the Code
#include <WiFi.h>
#include <PubSubClient.h>
#include "DHT.h"

// --- WiFi Settings ---
const char* ssid = "YOUR_WIFI_SSID";
const char* password = "YOUR_WIFI_PASSWORD";

// --- MQTT Settings ---
const char* mqtt_server = "broker.hivemq.com";
const int mqtt_port = 1883;
const char* temp_topic = "sensbench/home/temperature";
const char* hum_topic = "sensbench/home/humidity";

// --- Sensor Settings ---
#define DHTPIN 13
#define DHTTYPE DHT22
DHT dht(DHTPIN, DHTTYPE);

// --- Globals ---
WiFiClient espClient;
PubSubClient client(espClient);

void setup_wifi() {
  delay(10);
  Serial.print("Connecting to ");
  Serial.println(ssid);
  WiFi.begin(ssid, password);
  while (WiFi.status() != WL_CONNECTED) {
    delay(500);
    Serial.print(".");
  }
  Serial.println("nWiFi connected! IP: ");
  Serial.println(WiFi.localIP());
}

void reconnect() {
  while (!client.connected()) {
    Serial.print("Connecting to MQTT...");
    String clientId = "sensbench-" + String(random(0xffff), HEX);
    if (client.connect(clientId.c_str())) {
      Serial.println("connected!");
    } else {
      Serial.print("failed, rc=");
      Serial.print(client.state());
      Serial.println(" retrying in 5s");
      delay(5000);
    }
  }
}

void setup() {
  Serial.begin(115200);
  dht.begin();
  setup_wifi();
  client.setServer(mqtt_server, mqtt_port);
}

void loop() {
  if (!client.connected()) reconnect();
  client.loop();

  float h = dht.readHumidity();
  float t = dht.readTemperature();

  if (isnan(h) || isnan(t)) {
    Serial.println("Sensor read failed!");
    return;
  }

  char tempStr[8], humStr[8];
  dtostrf(t, 4, 2, tempStr);
  dtostrf(h, 4, 2, humStr);

  client.publish(temp_topic, tempStr);
  client.publish(hum_topic, humStr);

  Serial.printf("Temp: %s°C  Humidity: %s%%n", tempStr, humStr);
  delay(30000);
}
Step 4: View Your Data in the Cloud
- Open https://www.hivemq.com/mqtt-web-client/ in your browser
- Click Connect
- Under Subscriptions, add topic:
sensbench/home/# - Watch your ESP32 send real-time data every 30 seconds
What’s Next?
Now that your data is in the cloud, you can:
- Build a dashboard with Node-RED or Home Assistant to visualize data
- Add more sensors — BME280 for air pressure, soil moisture for plants
- Trigger automations — “if temperature > 30°C, turn on fan”
- Go battery-powered — add deep sleep mode for months of operation